
Check-in in CoreBookings means marking who actually attended a class. Use the Attend toggle on Class Schedule Detail. Check-in is optional — bookings and pass credits still work if you never mark attendance — but it is useful for owners and teachers who want a clear record of who was present.
Short answer #
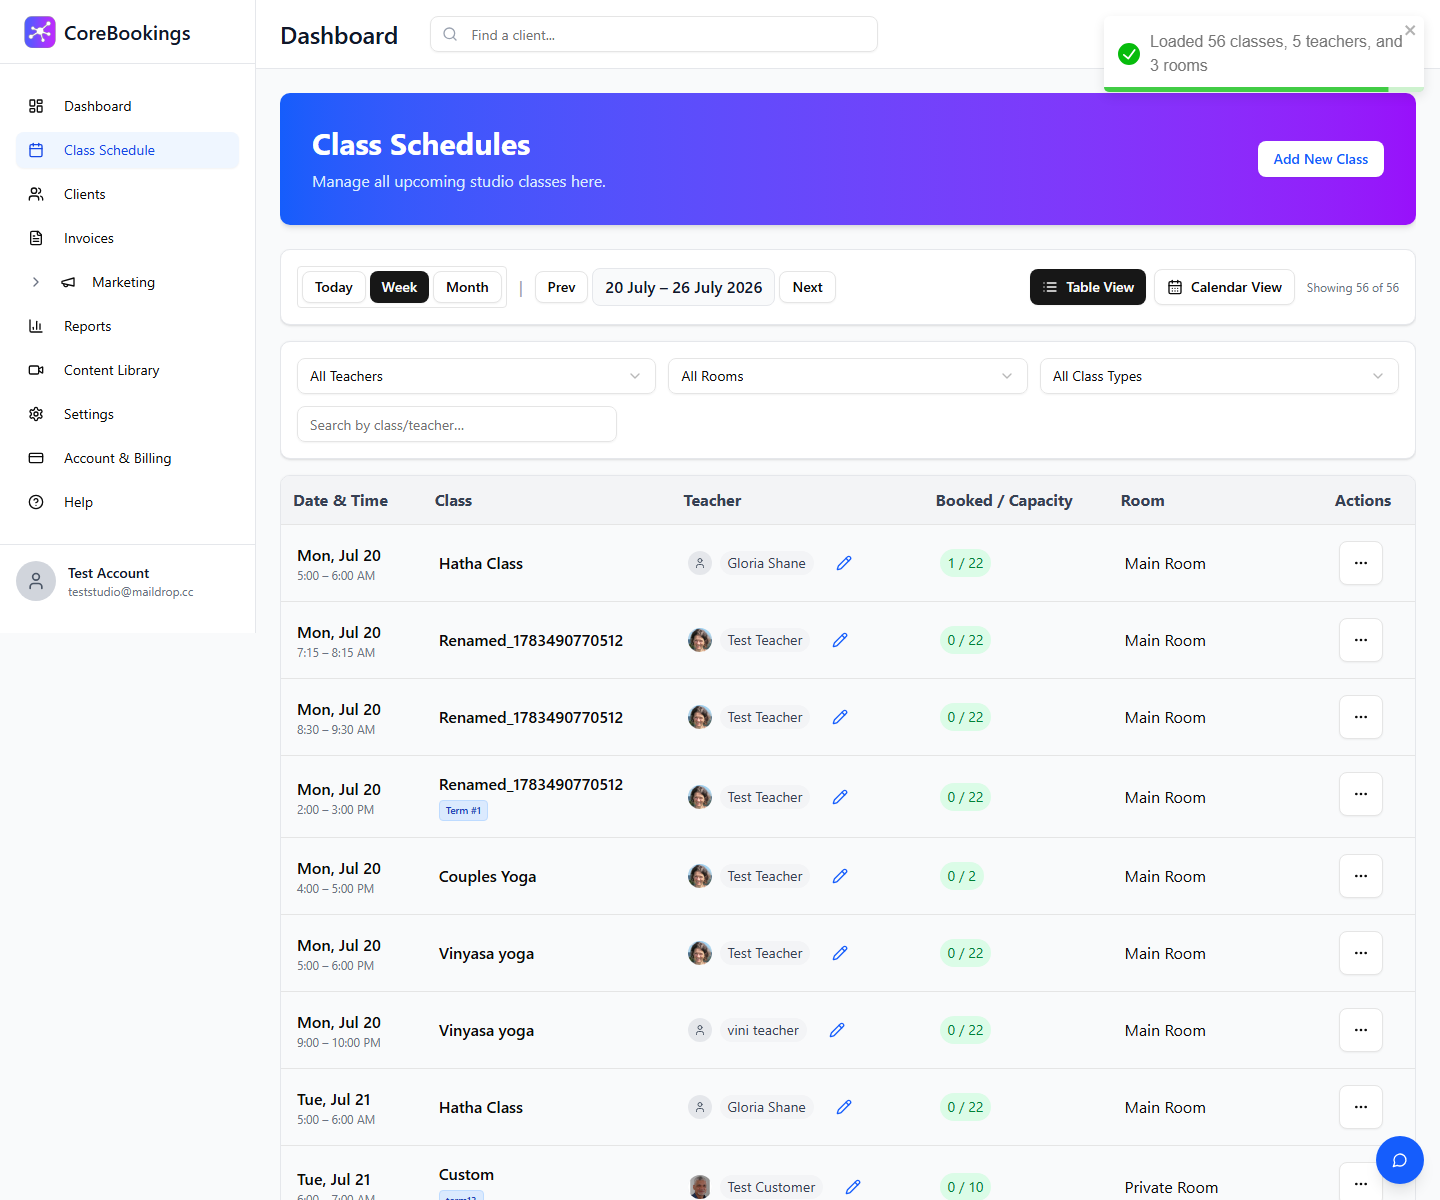
- Open the class from Class Schedule (see How to View Class Attendance).
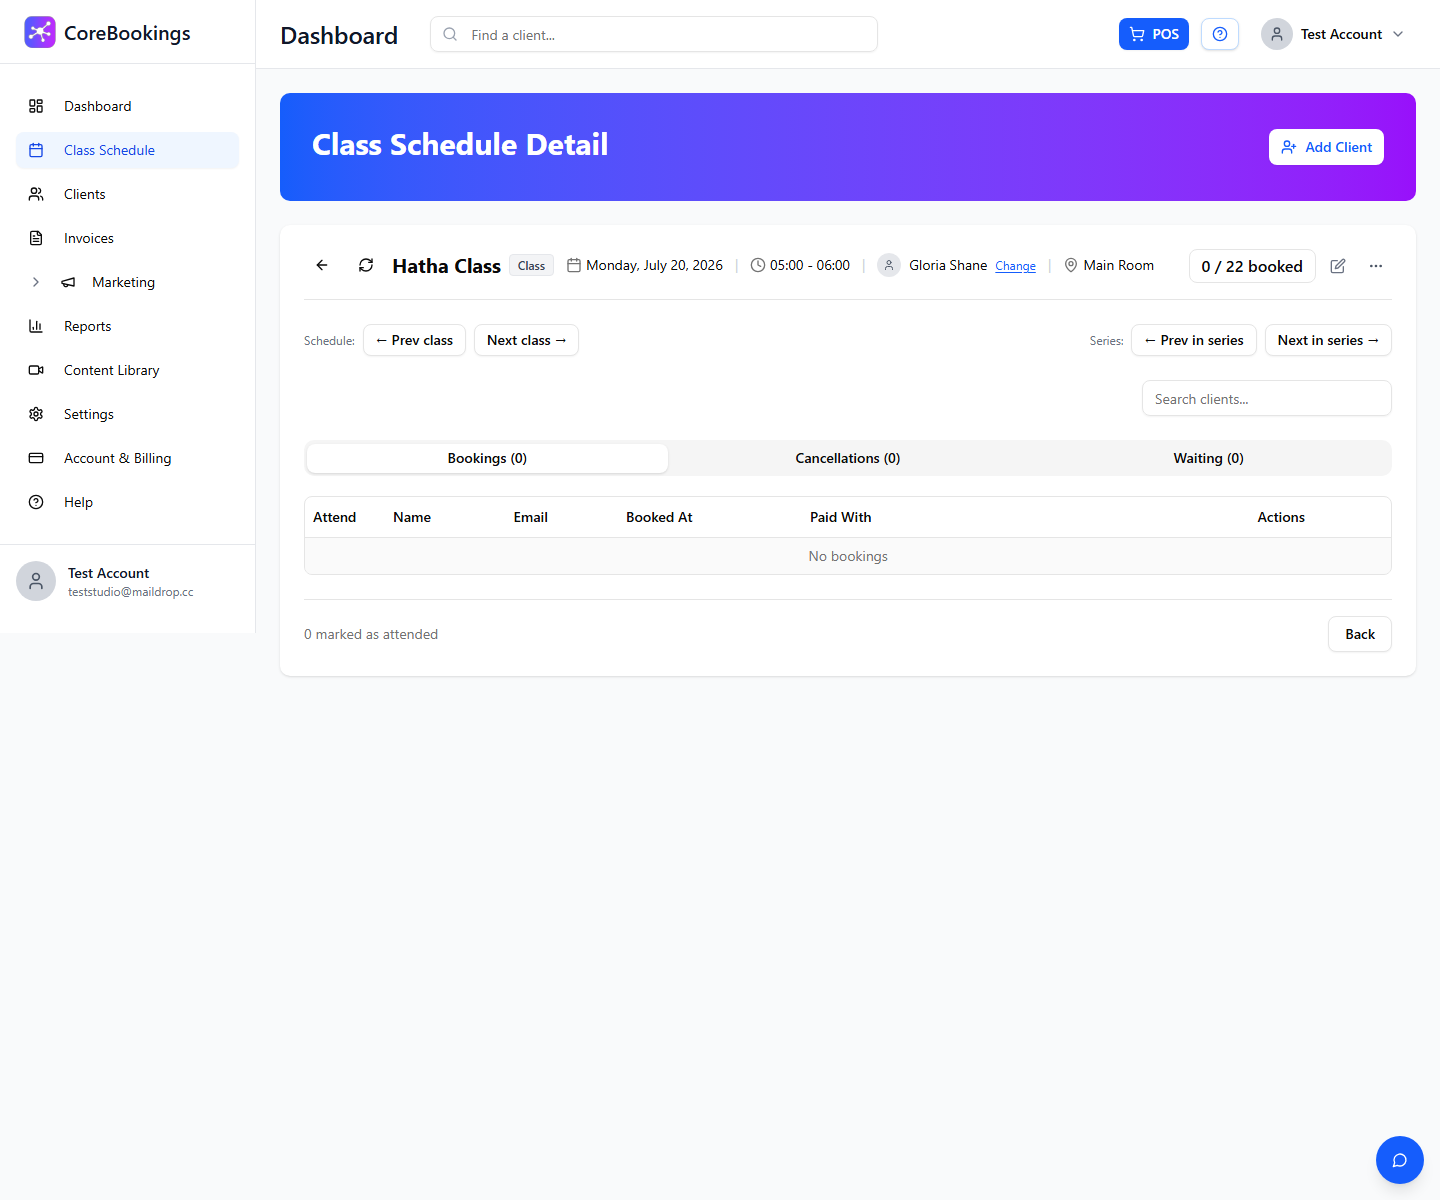
- On the Bookings tab, find the Attend column.
- Turn on the toggle for each client who arrived.
Open the class #
Where: Class Schedule → Class Schedule Detail → Bookings tab
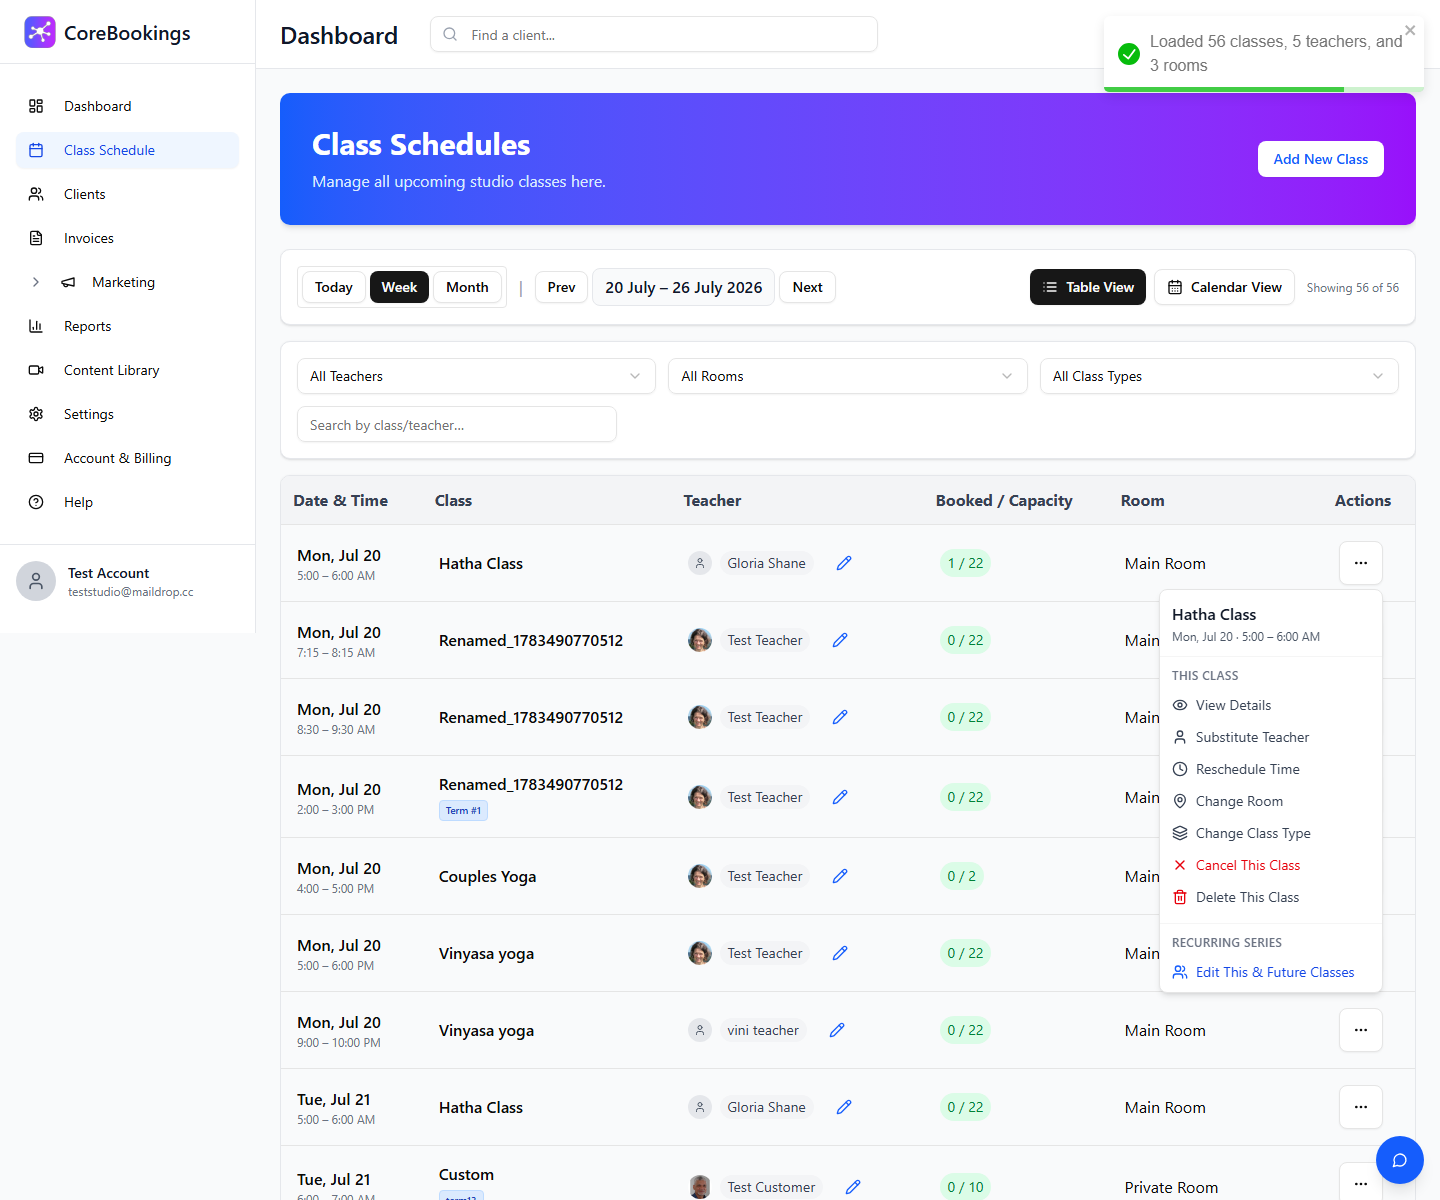
- Click a class row in the schedule list, or
- Open the ⋯ menu and choose View Details.
Mark who attended #
On the Bookings tab, each booked client has an Attend toggle. Switch it on to mark that client as checked in for the session. Switch it off if you marked someone by mistake.
You do not have to check everyone in. Many studios only mark attendance when they need a record for teaching, reporting, or follow-up.
Credits and no-shows #
Pass credits are deducted when the client books (or when you add them to the class), not when you toggle Attend. A client who does not show still uses their credit unless you remove them from the class.
If you want to return the credit for a no-show, cancel or remove that booking from the class so the credit can be returned according to your studio rules.
On mobile #
On smaller screens, open the class with Manage → View Details. On the bookings table, swipe horizontally if you need to reach the Attend column.
Related help #
- How to View Class Attendance
- Do I have to register or check in customers to confirm attendance?
- Is there a way for me to see a customer’s previous visits?
Need help? Email support@kriya.com.au.


