
Once your CoreBookings studio is set up, you can start accepting online bookings and pass purchases. This article explains how to share your booking page with clients through your public studio URL, an embeddable schedule widget, or the CoreBookings mobile app.
Before clients can book #
Start with the checklist to set up your account. Clients can book once you have completed the four activation steps:
- Complete business profile (phone and address)
- Connect Stripe so clients can buy passes and memberships online
- Create your first pass for clients to purchase
- Schedule your first class (you will need a teacher, room, and session type)
When all four steps are done, your onboarding page shows Your studio is live. There is no separate publish button for your schedule. Classes appear on your public booking page as soon as they are scheduled.
Make sure Stripe is connected before you share your booking link. Without Stripe, clients cannot purchase passes online.
Three ways to share booking #
There are three main ways clients can find your studio and book classes:
- Public studio URL — a dedicated booking page you can share anywhere (email, social media, Google Business Profile)
- Schedule widget — an embeddable timetable you add to your own website
- CoreBookings mobile app — clients search for your studio in the app and book from their phone
You can use one option or all three. Whichever you choose, promote the link on your website, in class announcements, and on social media so clients know where to book.
Share your public studio URL #
Where: Settings → Business
On the Business Settings page, set your Studio URL slug. CoreBookings builds your Public URL from that slug (for example, https://app.kriya.com.au/your-studio-name). Click Copy next to the Public URL to copy the link.
You can also copy the link from the onboarding page after setup is complete. Click Copy public studio URL on the Your studio is live card.
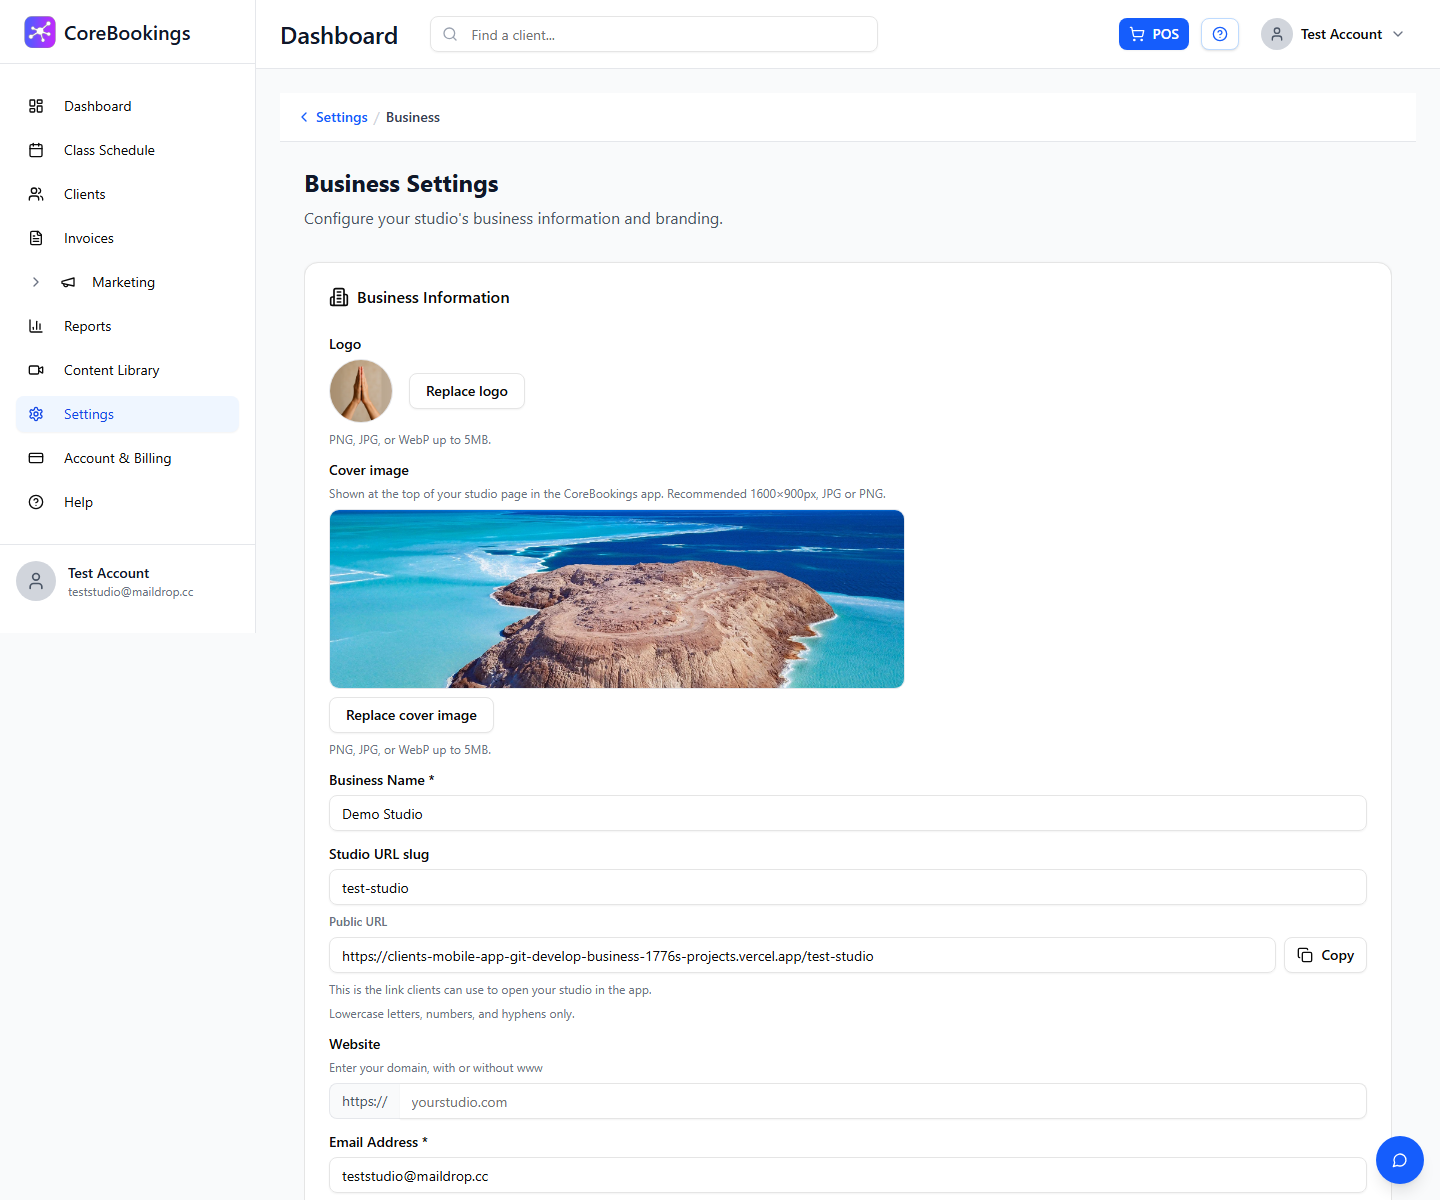
Share this link with clients by email, text, social media, or anywhere you promote your studio. Clients can open it in a browser on any device to view your schedule, buy passes, and book classes.
Embed your schedule on your website #
Where: Settings → Add to Website
The Add to Website page lets you embed your class schedule directly on your studio website. You can customise:
- Appearance (Light or Dark)
- Accent (Book button) colour
- Layout (Day view or Week view)
- Embed method — Standard iframe (recommended) or Shadow DOM loader (advanced)
Use the Preview to see how the widget looks, then copy the Embed code and paste it into your site builder (WordPress, Wix, Squarespace, and similar). When a client clicks Book on the widget, they are taken to your public booking page to complete the booking.
If you have not set a Studio URL slug yet, the page prompts you to Go to Business Settings first.
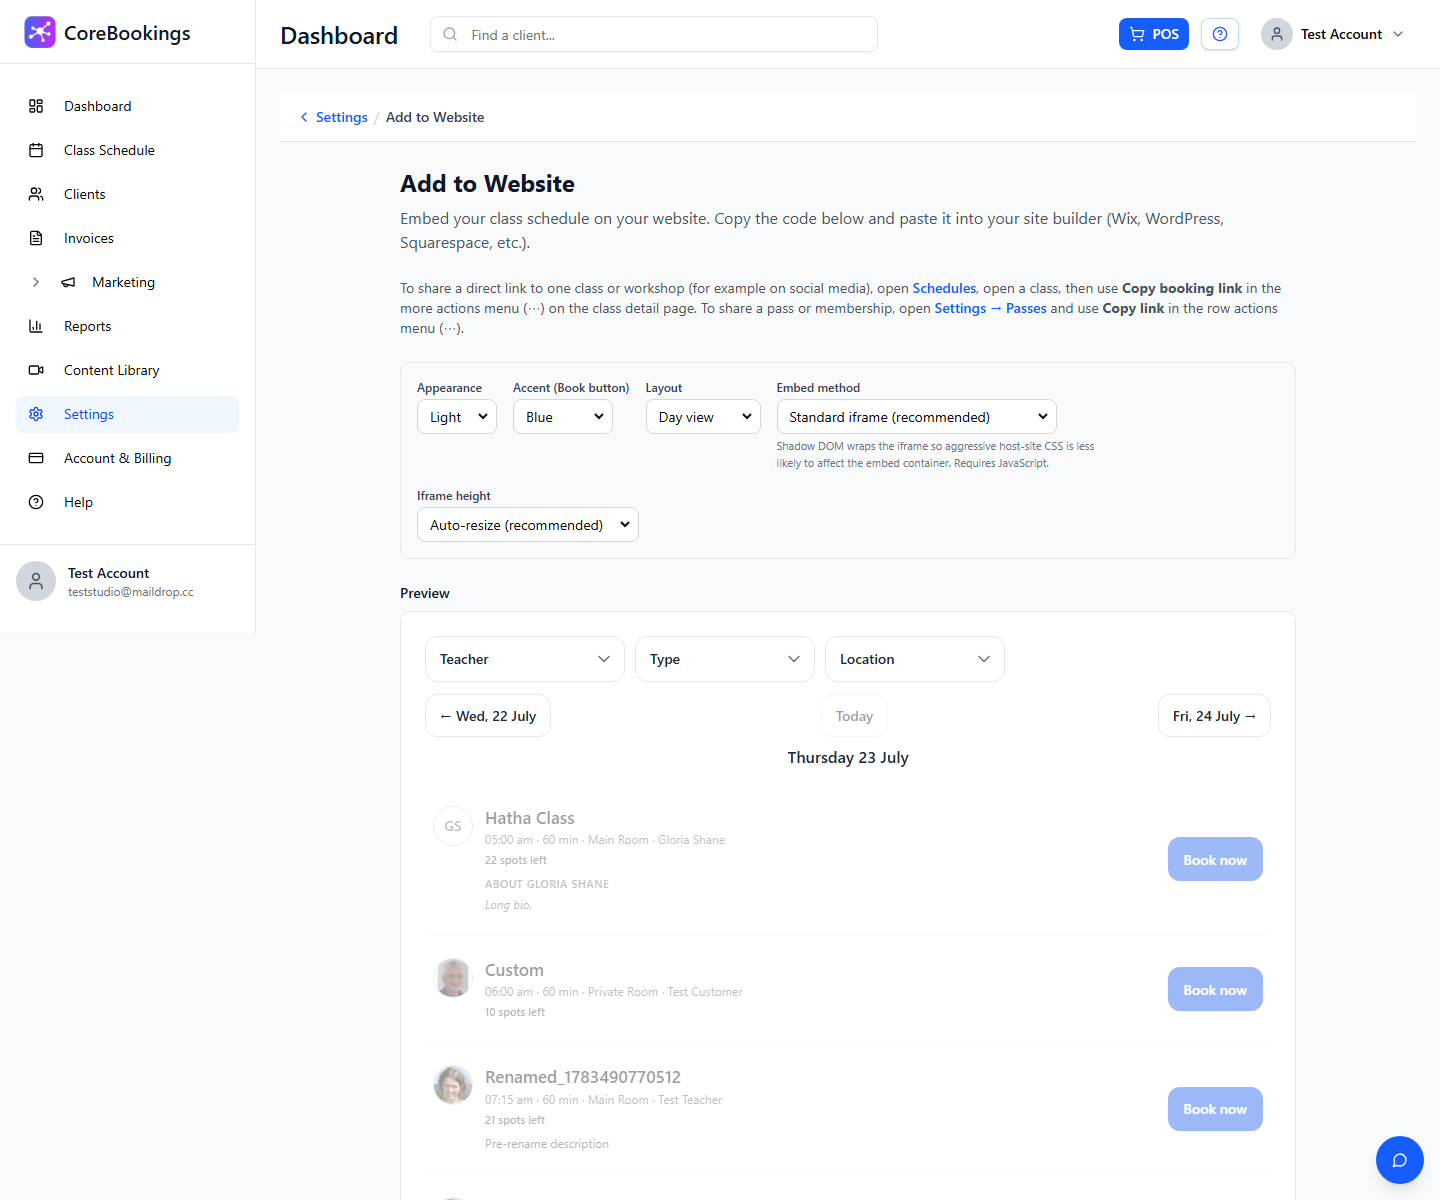
You can also reach this page from the onboarding Your studio is live card by clicking Add schedule to website.
CoreBookings mobile app #
Clients can also find and book your studio in the CoreBookings mobile app. They search for your studio name, view your schedule, buy passes, and book classes from their phone.
To help clients discover your studio in the app, add a Mobile app listing on Settings → Business. Add a short description and up to eight tags, then click Save settings.
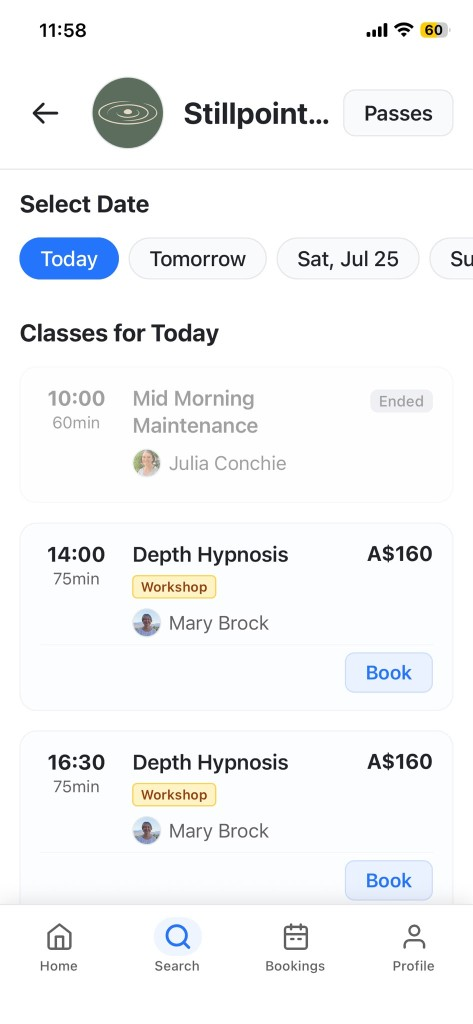
See also: CoreBookings mobile app.
Share links to a class or pass #
For targeted promotions, you can share direct links to a single class or pass:
- Single class: Class Schedule → open a class → more actions menu (⋯) → Copy booking link
- Single pass: Settings → Passes → row actions menu (⋯) → Copy link
These are useful for social media posts, email campaigns, or intro offers where you want clients to go straight to one class or package.
What clients see when they arrive #
When a client opens your public booking page for the first time, they are prompted to Create account or Sign in to book. After signing in, they can browse your schedule, purchase a pass or membership, and book a class.
If you have already created accounts for clients (for example during a manual migration), let them know so they sign in with the email you used rather than creating a duplicate account.
If you have a waiver configured under Settings → Waiver, clients may be asked to accept it before completing a self-service booking.
Related help #
- Checklist to set up my account
- Getting started: guide to set up your account
- Setting up Stripe
- CoreBookings mobile app
Need help? Email support@kriya.com.au.


